Tuesday, September 11, 2012

Easy Organization for the Unorganized Artist


This DIY is for the busy crafter.  A quick & easy DIY that will take your art space (playroom, office, garage, etc.) from boring and blank to bright and colorful!

You'll need:
   Plastic bins
   Spray Paint
   Chalkboard paint
   Painter's Tape

I had these boring, clear, plastic bins that I got for about $1 each.
If you have read other posts that I've done, you know that I am a firm believer in the power of Spray Paint.  For this project, you'll need a spray primer and some fun colors.
Grab your drop cloth and start spraying!
Once the paint was dry, I taped off a section with painters tape.  Once the tape was down, I sprayed Chalkboard paint to make a space to write labels.  Once everything was dry all I had to do was fill the bins and place them on shelves! Viola! Insta-Chic way to revamp your space!


Just check out the difference this quick project made in changing the feel of this space:

Have fun!
-M.


Friday, September 7, 2012

Buy Prints and Products!

Now you can buy art prints and iPhone and laptop accessories featuring my artwork!

On my blog: visit the Prints & Products tab


Society6 is a company that produces prints and products on behalf of the artist.  It is a wonderful site with AMAZING art. Be careful, it can be as addictive as Pintrest, Etsy, and Craftgawker....best look when you have a morning off to enjoy with a cup of Joe and be ready for tons of great art!


Friday, August 24, 2012

From Classy Mirror To Funky Chalk Board!

Do you have a funky old mirror or frame sitting in a closet collecting dust? Re-purpose it and make a chalkboard message board!
 I had this awesomely creepy mirror that I have repainted endless times to match the latest decor.  I decided it was time to ditch the gloomy black paint and add a little fun!

You'll need:
Funky Mirror or Frame
Chalk-Board Spray Paint
Colored Spray Paint (and Spray Primer if going from dark to light)
Heavy Duty Magnets
Gorilla Glue
 Get out your drop cloth and head outside (or to a well ventilated space) It's hard to craft with a pounding headache from fumes!  Spray your frame and mirror.  *Hint: if your mirror is heavy, it might be easier to remove the glass and use something lighter like plastic or even heavy cardboard.


Once everything is dry, put the mirror back together.  My husband has never passed up the chance to use a screwdriver and screw so he was in charge of the hardware!
The couple who crafts together, stays together.
Next, we attached heavy duty magnets to the back of the mirror.  These magnets are the real deal. They came out of the hard drive of a computer. Super strong.  Stick them to the frame with Gorilla Glue. We used clamps and let the magnets sit in the glue until it had dried.

I decided to make a little basket to hold the chalk.  In the process I learned two things: 1) Buying sticks of chalk these days is waaay harder than I thought. 2) Apparently schools these days don't use chalkboards. So kids these days will never know the joy of eraser duty - smacking erasers together as a cloud of chalk dust covers you in a cloud and you struggle for air....anyways childhood problems..
 I got this little basket at a craft store and painted it with Folk Art Acrylic paint.
The only thing left to do is enjoy coming home to messages like this!  You could also write grocery lists and other productive things...but I have a sneaking suspicion we will use our message frame to play tic tac toe. 

M.

Thursday, August 23, 2012

I Break for Yard Sales...and You Should Too!

The joys of summer are endless. Beaches, BBQs, clam bakes, tan lines, hot dogs, summer beers, the list goes on. But there is one summer happening that deserves more credit, appreciation, and excitement: YARD SALES.

We recently found this adorable elderly woman who was having a moving sale in her barn. Check out some of the goodies I found!
 The woman was an artist and had all these amazing books, brushes, and vintage art supplies. 
 Also found this awesome (and slightly creepy) illustrated bible.
And this beautiful book about American paintings.

 I hope this inspires you to "break for Yard Sales". You never know what treasures you might find!
M.

Thursday, August 9, 2012

Snapshot: NYC

I recently traveled to NYC to see Old Crow Medicine Show and The Lumineers play in Central Park.  While there, we made stops at the 9/11 Memorial, Central Park, and the Summer Stage. Here are some photos from the trip:


M.

All photographs ©See Molly Create

Friday, August 3, 2012

DIY Baby Shower Gift


Have you ever had to go to Babys'R'Us to buy a gift for someones baby shower? I have, and it was terrible.  One of the most overwhelming experiences to date.  I never knew there were so many options for onesies, wet wipes, diapers, baby nail clippers, and bottle nipples.  Needless to say, I vowed that from here on out I would craft or paint my baby gifts and you should too!

Start with a 5"x5" wrapped canvas and paint a basic background color.


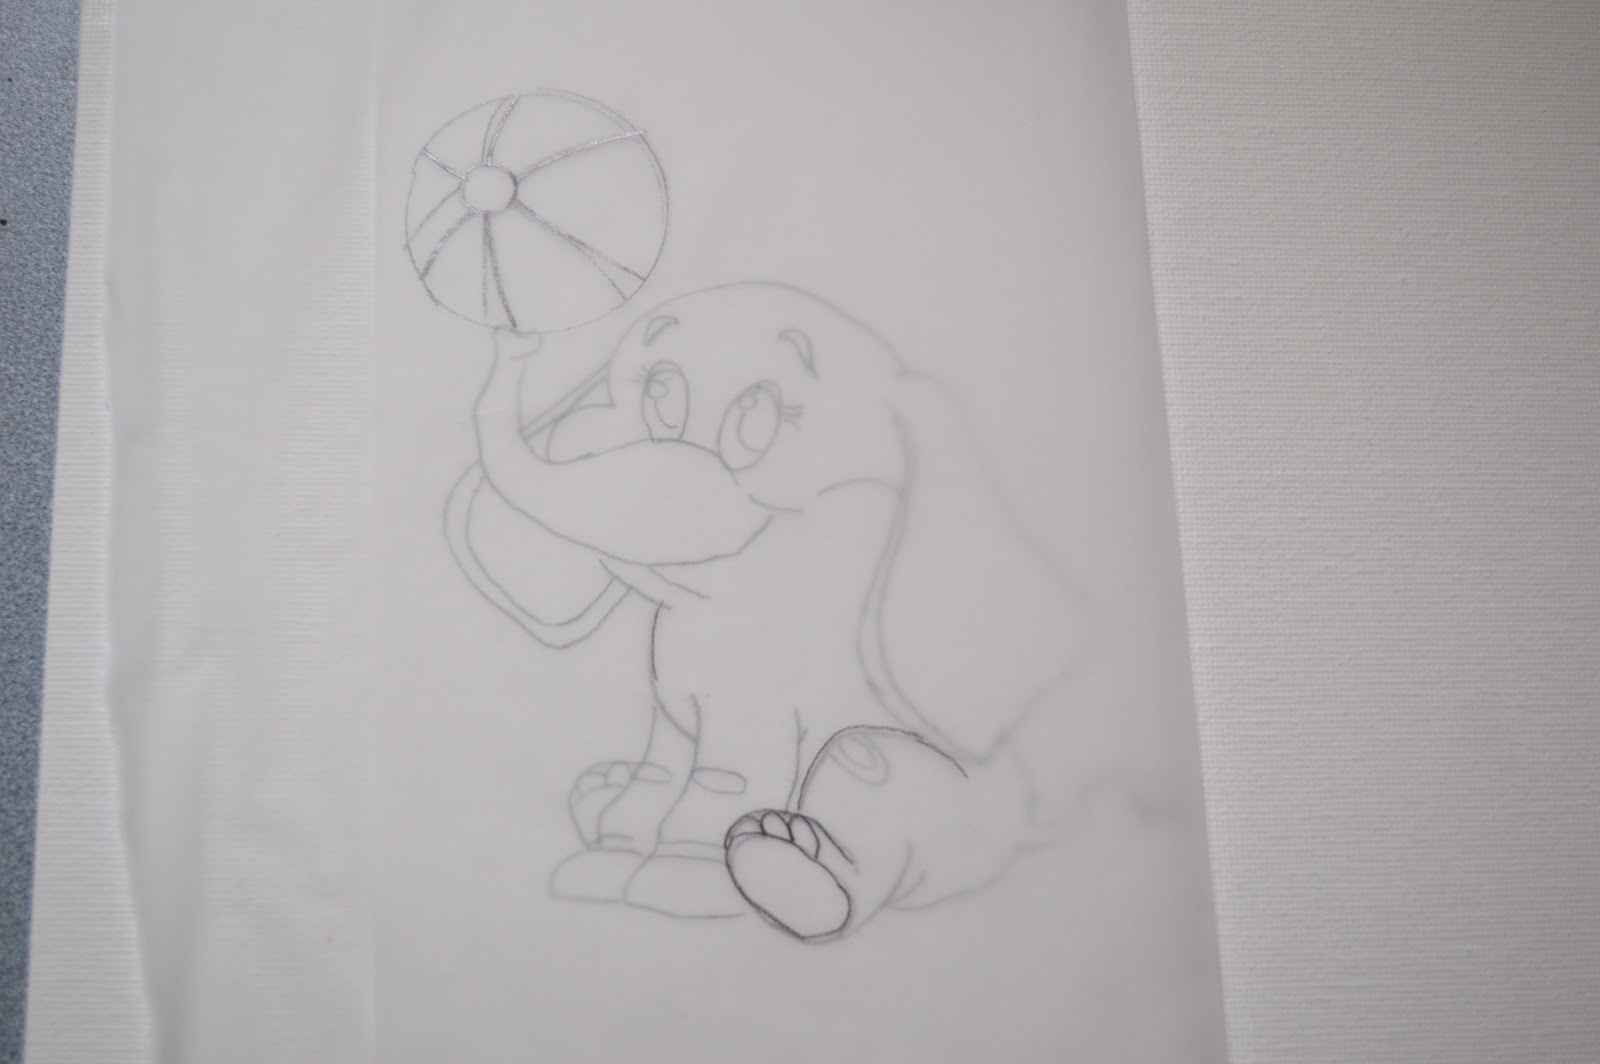
Next, draw a cute sketch on tracing paper.  We are using tracing paper so that we can transfer the sketch to the canvas.

 *Hint! if you fold tracing paper over the image you can see how changes would look. I did this to see how the elephant would look with a beach ball.


Place your sketch over your canvas. Once you find where you want the image to go, tape down the tracing paper a piece of painters tape.

 Grab some transfer paper! I like Sally's from Dick Blick.

 Place the graphite transfer paper, with the darker side down, under your sketch.  Use a fine pencil to "re-draw" your sketch. The force of the pencil forces the graphite on the transfer paper onto the canvas.

When you take the paper away you should have something like this:
Nifty huh?!

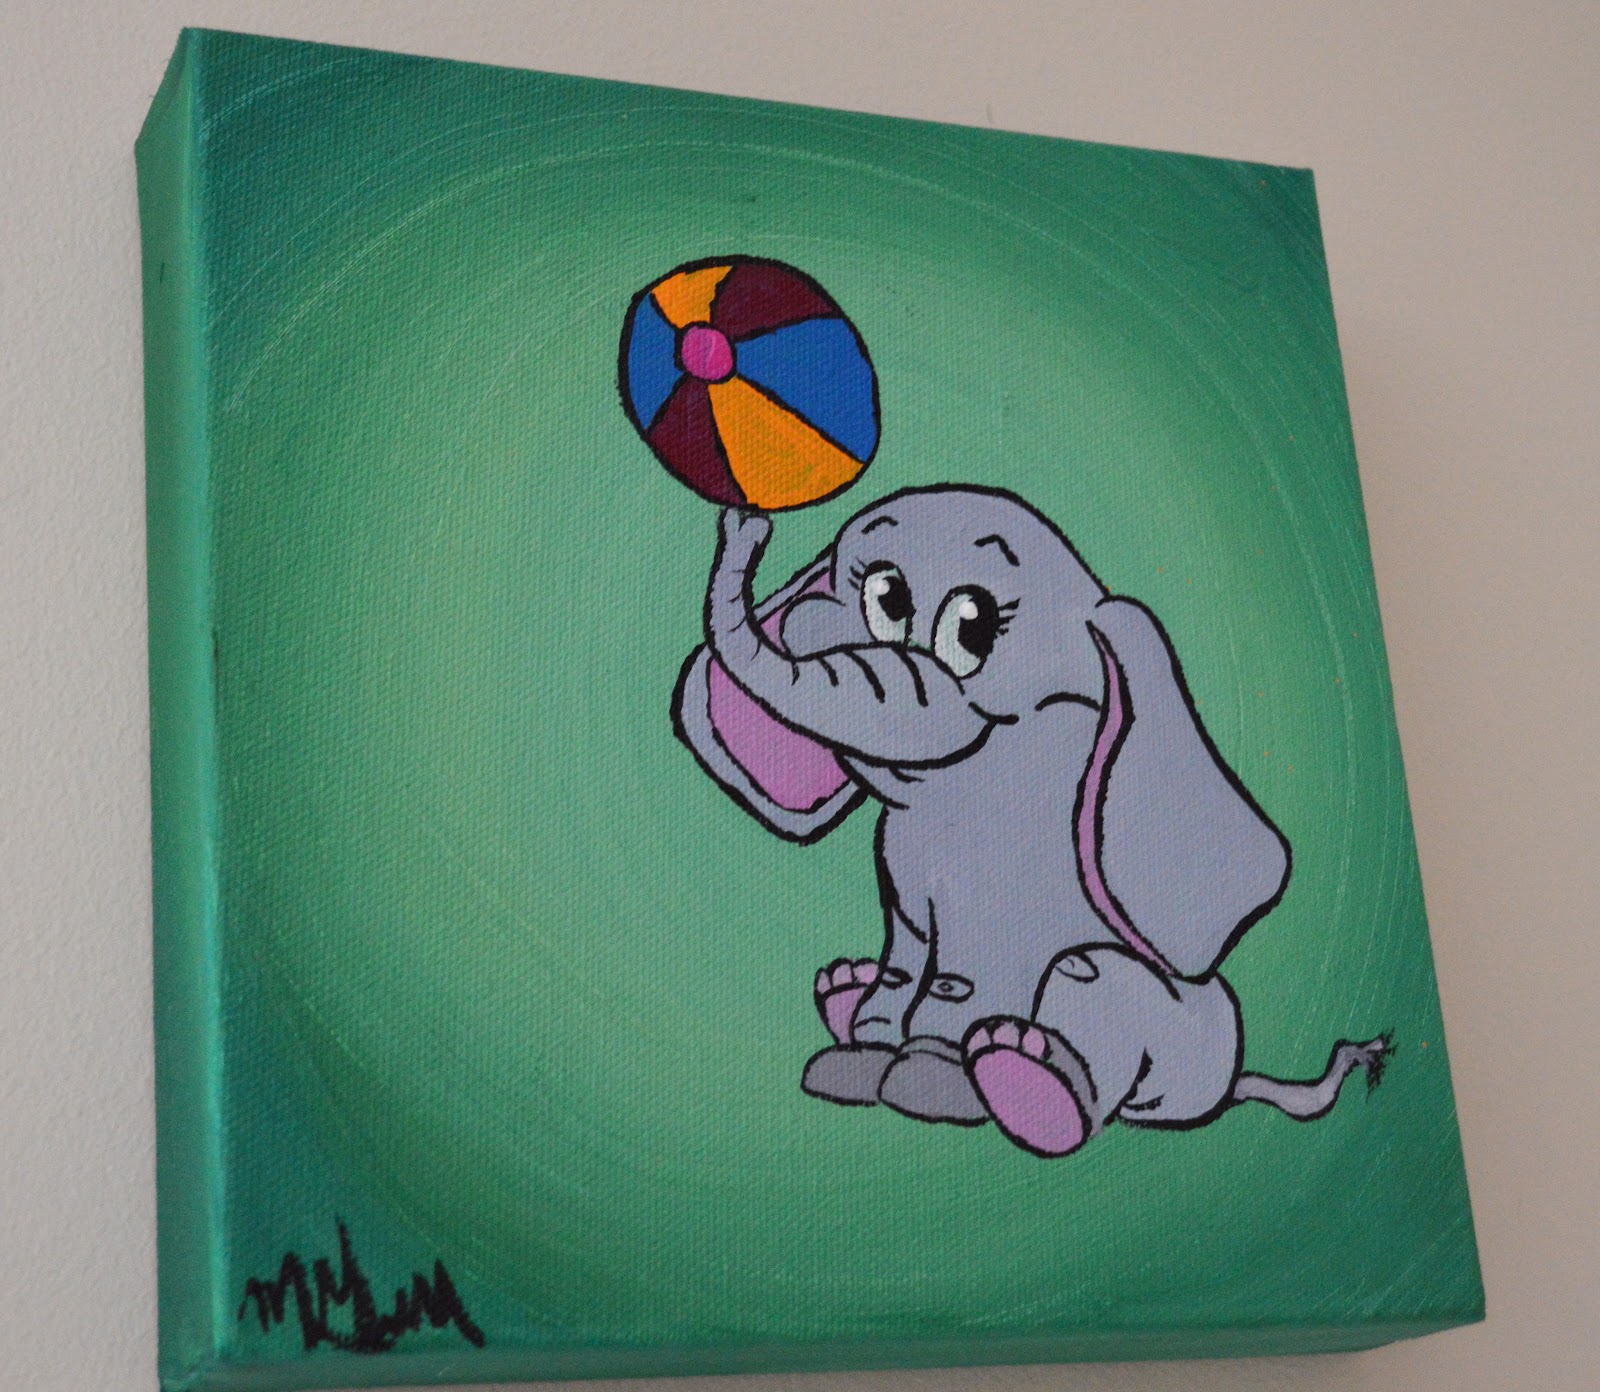
As you add color, think of it as a "color by numbers.  By leaving thin lines as separators, you can go back with your outline.


Wait to add your outline until all the colors are dry.  Then use a fine tipped brush and black paint to add an outline. Try this Outliner (sometimes called a Highliner brush) from Dick Blick.

Outlining can be stressful and tedious. Probably a good idea to outline BEFORE you have a cup of coffee.  Jittery hands make for jittery lines.

Pretty darn cute!


M.

Tuesday, July 31, 2012

Heavy Metal Letter Meets Pretty Yarn Wreath


A while ago I got this awesome metal G on Etsy (click here for shop: Heavy Metals) I decided to make a yarn wreath for our front door and feature this great metallic piece!


What you'll need:
 14in foam wreath base
 Yarn
 Hot glue and glue gun
 "do-dads" for decorating your wreath
 Awesome Metal letter from Heavy Metals Etsy shop!


Start by wrapping the yarn around the wreath. This is the most tedious part. It takes forever.  Once you get into a groove it it's not so bad. Make sure you designate one side for show and one side for hardware, gluing, etc.  I glued the first end of yarn down so I didn't have to worry about holding it secure.


Once I had about 3/4 of the wreath wrapped in blue, I switched to brown yarn.  Again, I used a dot of glue on the back to hold the new yarn down.


Started gluing on the "do-dads"


I used a screw-in hook hanger on the back with a little extra glue to hold it tight (when in doubt add hot glue)


Finally, I used fishing wire to hang the metal G from the top of the wreath.  From afar, it looks like the G is floating!


M.

<a href="http://www.bloglovin.com/blog/3916391/?claim=kmyb8pe4q2e">Follow my blog with Bloglovin</a>
Related Posts Plugin for WordPress, Blogger...