

You'll need:
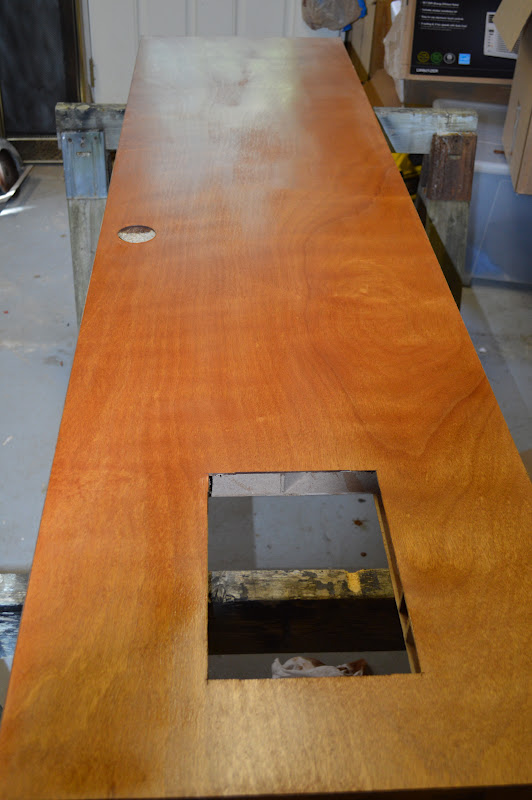
Wooden letter - available at most craft stores
Yarn - I used two different rolls of complimentary colors, one solid, one striped
Acrylic paint that matches your color scheme
Hot Glue Gun
Tape
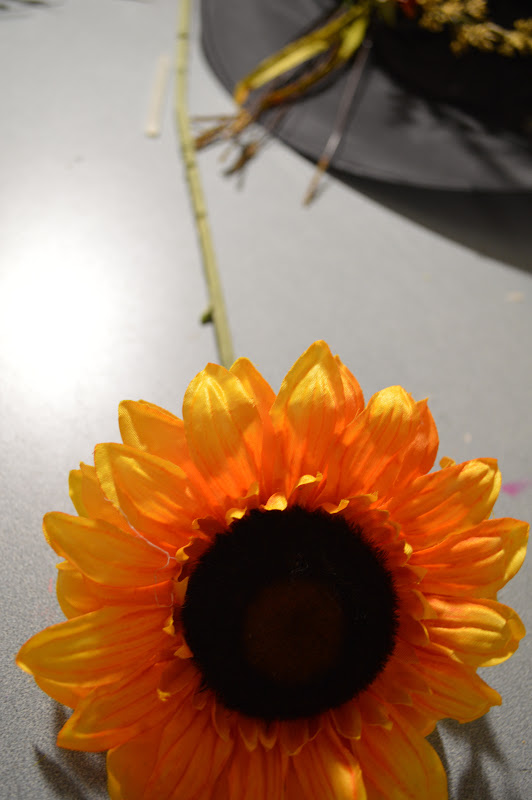
Decorative Do-Dads

Before I started with the yarn I painted the letter in a light green just incase the yarn couldn't cover all the corners. (You will note that for a quick paint job, I don't bother using a palette that I'll have to wash)

Take an end piece of yarn and tape it as close as possible to the edge of the letter. The tape will help hold the end in place until you have wrapped it.

If you will be alternating yarn rolls, you will want to wrap a section and stop. If you are only using one color you simply continue to wrap until the letter is covered. You may have to go back over some parts, especially if you have a funny shaped letter, like a G.
If you are alternating yarns, wrap a few sections of one color and then go back and wrap with the next yarn roll.

**HINT: If you plan to put your letter on a door that gets a lot of sun, take a piece of scotch tape and stick it over the drop of glue, this will prevent the glue from heating up and sticking to your door!

Once you have your letter wrapped, get out your decorative pieces and start playing around with the placement. Remember that this will be hanging so try to keep the weight balanced so your letter isn't crooked. Once you have settled on an arrangement it is helpful to take a quick photo. You will have to take the pieces off so that you can glue them down in the appropriate layers, so having a photo of the intended arrangement can be helpful!


Once your pieces are glued, tie a small bow around the top section of your letter so you can hang it from a hook. If you have a letter that does not have a centered top (Y, U, I, L) you might find that attaching a hook on the back of the letter is the easiest.


Hope you love it!
M.


