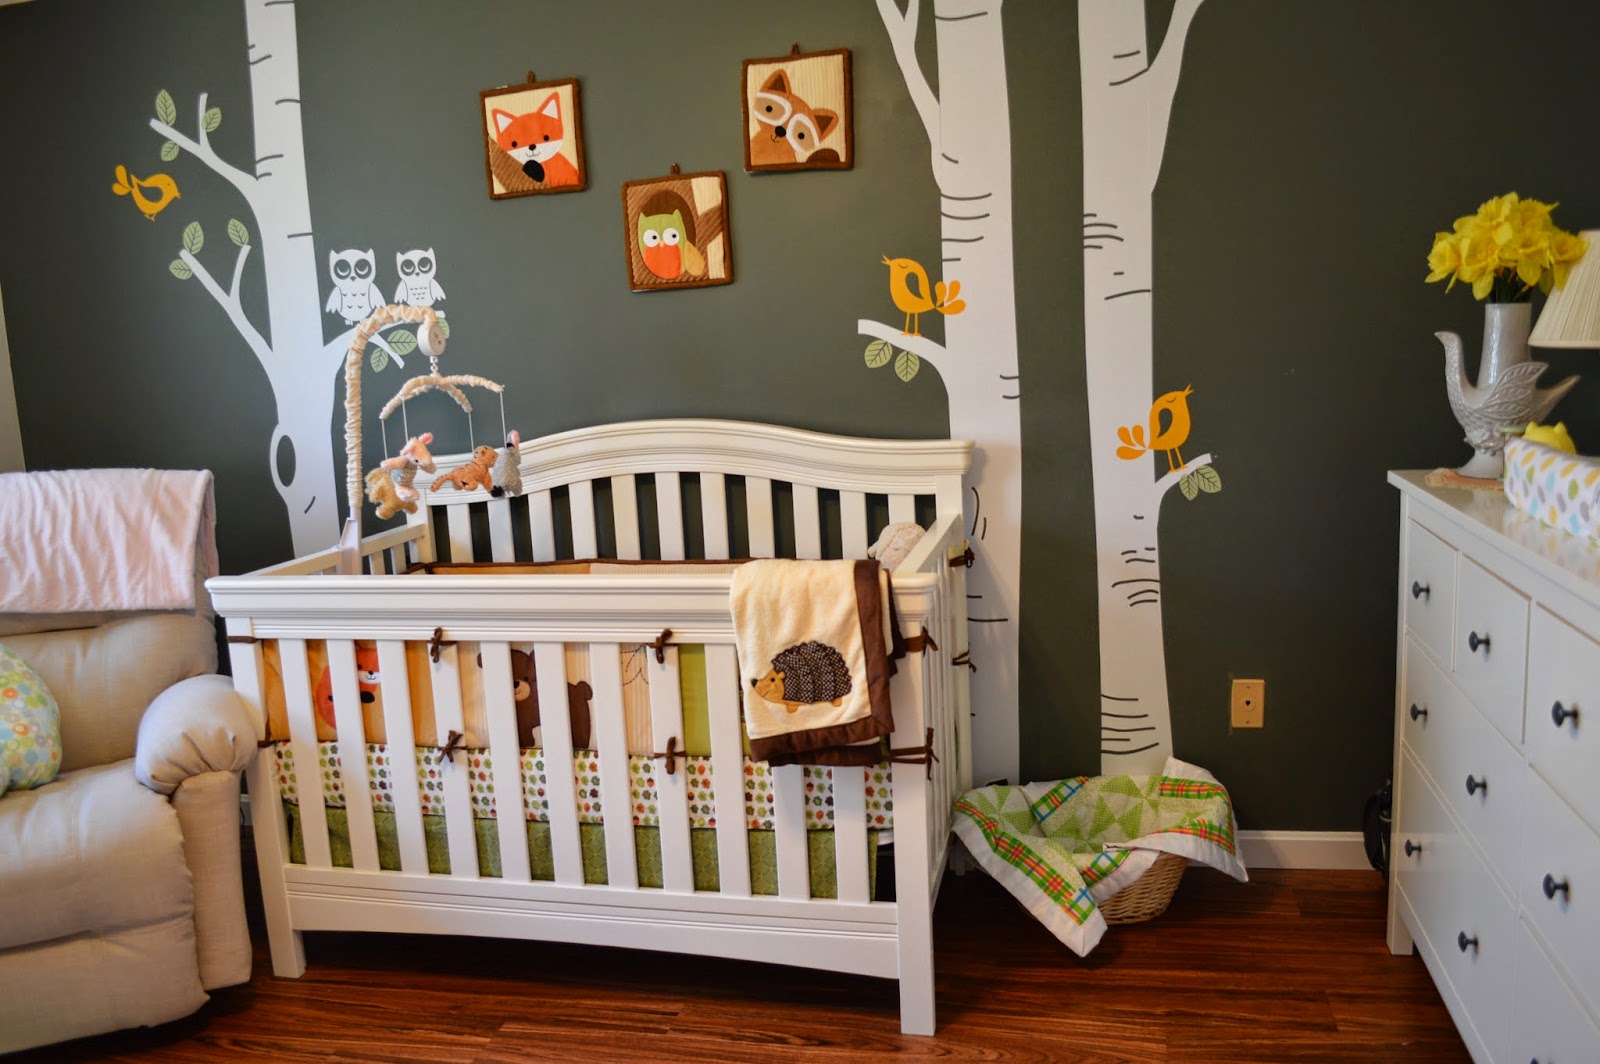
Being pregnant has certainly given me a run for my money. I had a brutal first trimester, a hectic second trimester, and now that I'm 36 weeks I am simply exhausted. That being said, the time we have spent working on the nursery has been absolutely blissful. I thought I would share our nursery transformation!
We are so happy with the final product and love spending time in this room. This room was a guest bedroom before the transformation. The first thing we did was rip up the carpet! I wanted something durable and easy to clean, but didn't want to spend a ton of money. We decided to put down vinyl plank flooring that runs about $1.79/sq ft. My husband and dad were able to have the floor put down in about a day. The wall color was left over from the guest room. We knew we didn't want an overly "girly" room and the wall colors helped keep the space neutral. We also painted the all the wood trim white which helped to freshen the space.
We found this Birch Tree Decal from LimeDecals on Etsy and HAD to have it. The decal comes in several pieces and you can personalize the colors and placement of the branches, birds, and leaves.
We got all new furniture for the room. To help space out the cost of buying big pieces of furniture, we found it helpful to buy one piece per month, rather than go on a shopping spree and have to tackle a huge bill.
The Furniture:
Crib - Babies R Us
Dresser/changing table - Ikea
Bookshelf - Ikea
Chair - Barbos (custom made from a local Cape Cod furniture store)
Rug - Ikea
The bookshelf doubles as extra storage space with the use of these awesome baskets!
Add in a few personal touches and you have a whimsical shelf!
These adorable "Make Way for Ducklings" frames were a gift from Amy over at Creative Soul Spectrum.
We were also given this adorable handmade growth chart that matches our woodland/owl theme.
When it came to picking a changing table, I wanted to use a dresser that would be functional well past the diaper years. We picked the Hemnes dresser from Ikea. The height is perfect for diaper duty and the drawers have plenty of space for all the adorable essentials!
I found some great drawer dividers at Ikea that we perfect for separating onsies, socks, headbands, etc.
Diapers and diaper essentials:
Burp cloths, bibs, and misc items:The cutest little onsies and swaddle blankets (that will probably never be this organized again):
Backup diapers, shoes, leggings, socks, headbands:
Beautiful blankets:
The top of the dresser was dressed up with a changing pad, antique lamp, and a bird vase from Jonathan Adler.
Baby girl is totally lucky and has her own walk-in closet where we are hanging little outfits and storing a stock pile of diapers and wipes.
Transforming this room into a nursery has been so special. My husband and I have had so much fun picking and placing each item. We know that once she's here the neatness will be replaced with chaos, dirty diapers, and sleepless nights, but that's when the real fun starts.
If I can offer one piece of advice, it would be to start working on your nursery early! You'll be amazed how quickly that baby bump gets in the way, and how easily you will become tired. We started working on this room when I was around 20 weeks…and we are just about finished now that I'm 36 weeks!
The countdown is on folks!!


