Monday, July 9, 2012

Oreo Fun Pops!

I think most of the human population is in agreement that Oreo cookies are one of man's greatest creations.  What most people might not realize, is that Oreos can be dressed up for special occasions!
This past weekend, while preparing for a friends birthday I knew two things I wanted to make: a unicorn cake and some sort of fancy Oreo.
The Oreo gods were in my favor this week because Oreos were on sale, so I bought two packs.


Ingredients:

Enough Oreo Cookies to feed your party (and enough so you have leftovers for yourself)
Ghiradelli White Chocolate Bars: one bar made about 20 cookies so adjust accordingly
Colorful baking Sprinkles
Popsicle sticks (I bought fancy Popsicle sticks at a craft store that ended up being to thick, so I used tooth picks - worked great!)

Start by melting the chocolate. Once melted scoop the chocolate into a low bowl.
I also put the Sprinkles in a low bowl so I could dip the Oreos.

 Once your set-up is ready, stick your stick into the Oreo. Now all that's left is to dip each side of the cookie into the chocolate so that each side is evenly covered, and then dip the cookie into the sprinkles! 
Lay them to dry (5-10 minutes) before serving

Delicious!


Don't forget the creepy unicorn cake!


Special thanks to Amy from Creative Soul Spectrum  for the beautiful photos and hand modeling!
- M.

Wednesday, June 20, 2012

Salsa'N'Guac Pasta Salad


It's hard to get inspired to cook when it's 90 degrees outside.  I basically had to force myself into the kitchen to make something for lunch.  I somehow managed to whip up this AMAZING pasta salad that was cool, refreshing, and super easy to make!

Warning: I never measure when I cook, if you are the type who needs exact cooking measurements, I am not your gal.

What you'll need:
1 box of a pasta of your choice (I used about half a box for this batch and have leftovers)
1 Hefty spoonful of Guacamole (I used Wholly Guacamole but homemade would be delicious too)
3 Hefty spoonfuls of salsa (the kind that is more veggies than sauce see image below)
3 squirts of Ken's Italian dressing
1 Hefty spoonful Parmesan cheese
1 scallion, chopped

 Salsa with small diced veggies
 Add the dressing, salsa, and scallions to the pasta


Add your heaps of cheese and guac

Stir it up
Enjoy!

Yum!
-M.

Spray Paint Can Make Anything Pretty


Ever have things laying around the house that need a fresh new look? Well, I swear to you, Spray Paint fixes anything.

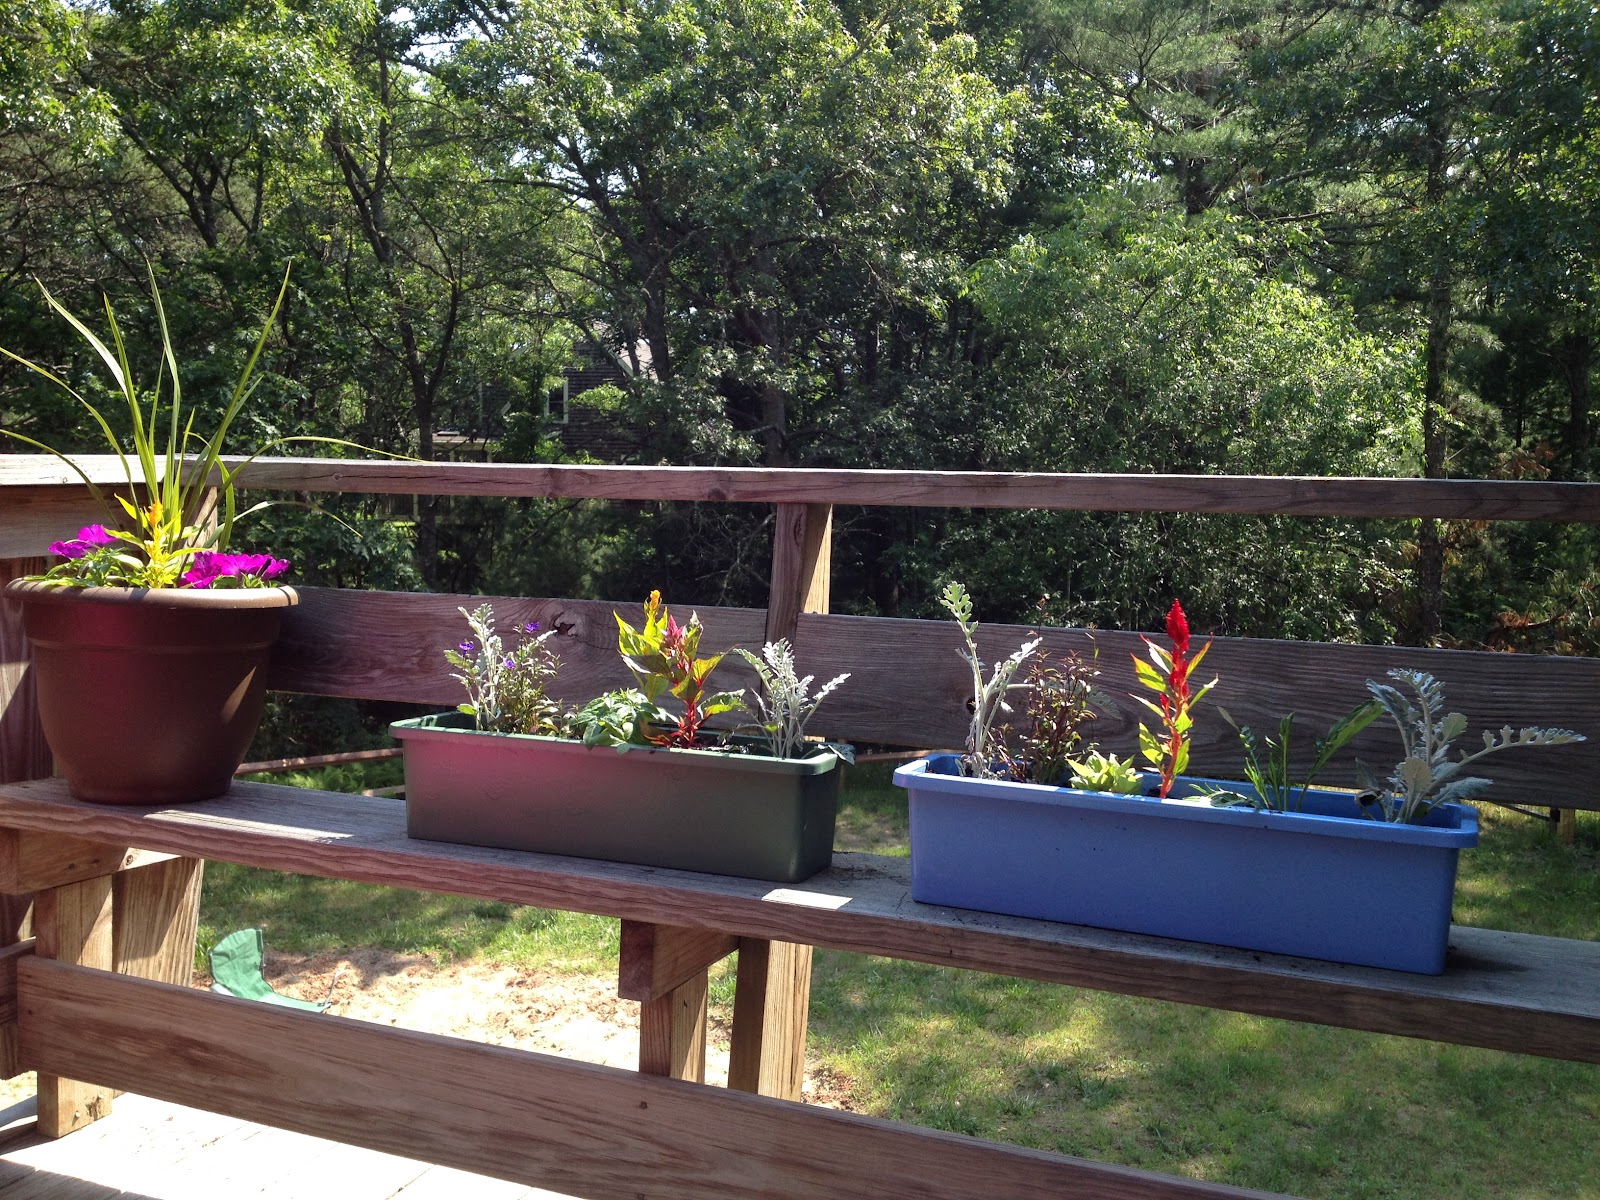
When we moved, I bought these window box liners that were the wrong size for our window boxes (note to self - always measure).  The box liners have been sitting in a pile with my garden stuff collecting pollen. I decided it was time to make them useful!
The liners are made of sturdy plastic, and have holes in the bottom for water drainage, but boy are they boring!

 Solution: Spray paint.  I used Rust-Oleum Ultra cover paint that is safe for outdoors and holds to plastic.

 And Viola! Window boxes with character!

You could always jazz the boxes up with stencils!

Enjoy!
-M.

Monday, June 11, 2012

DIY Tipsy Plant Pots

I've been wanting to add some color to our front garden and I love using potted plants in gardens.  I have seen these "Tispy" pots before and decided to make one!
You'll need:
  1 large pot for your base
  1 8" pot
  2 6" pots
  1 4" pot
  one 4' piece of rebar
  spray paint and primer
  potting soils and plants

 set up the pots on a drop cloth.
 I used this Rust-oleum primer and paint that is good on any surface and is safe for outdoors
 Once the pots were primed, I realized I was getting high off fumes so I moved the project outside
 ahhhh that's better. Once the primer dried, I did two coats of color.

 Using a mallet hammer and some muscle, plant the rebar into the ground so that it is nice and sturdy.  It needs to be steady enough to hold all the pots.
 Take your base pot and feed the rebar through the hole on the bottom.
 Add soil to the bottom pot and then start stacking the smaller pots, alternating which way they tilt.

 Once you have soil, all you have to do is plant!
 I had a few inches of rebar at the top, so I used some tall flowers to cover!
 Pretty!!

-M

Monday, June 4, 2012

Fred the Rooster

Hello again!
I thought I'd share a portrait I did of an unlikely subject! A rooster! Painting portraits does not have to be limited to humans.  How many fuzzy/feathery faces have you seen that you would like to capture?
A dear friend of mine has chickens.  Among her flock is a hard-headed rooster named Fred.  This cocky rooster (pun intended) has quite the personality. So when my friend got engaged I knew I wanted to give them a painting as an engagement gift.  Who better to paint than the boss of their household, Fred!

Because I wanted to be able to layer the paint to add texture to the feathers and wattle (who knew that dangling thing was called a wattle?!), I started with the dark tones. Once I had the darks down, I started adding lights and layers. The feathers were the hardest part. By alternating shades and using coarse and fine/feathery brushes, the texture began to develop.
Smoothing, blending, and adding highlights.

 Fred the rooster deserves to be the star of the show, so I chose a blended color background.  Once the painting was dry, all he needed was a gaudy frame and a signature!

- M.

Tuesday, May 22, 2012

Tree of Life Painting

I have always loved "Tree of Life" paintings. So I went out and bought a big 'ole canvas and sat down to paint one!  I chose to use acrylics because they dry quickly, and I am impatient.
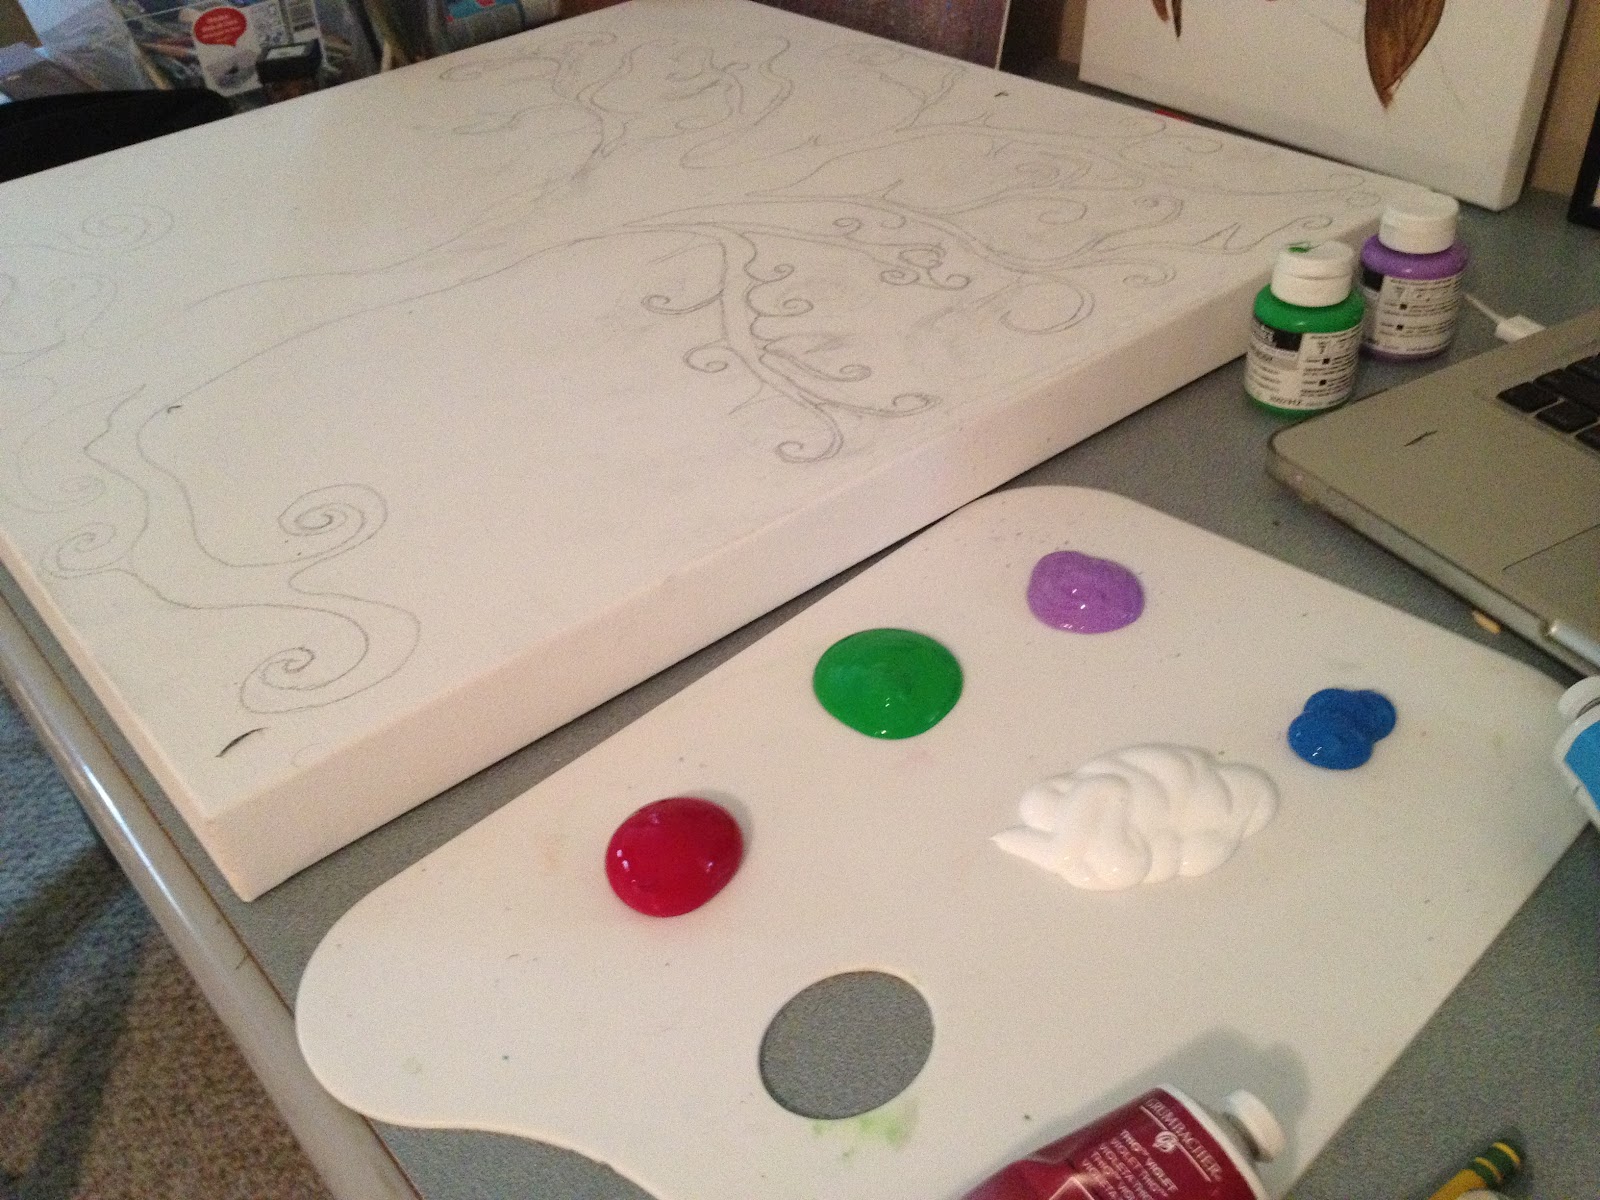
 As always, I got my coffee ready first. Then a sketched an outline lightly with pencil.
 I started with the background. I remember in high school, I had an art teacher who said "you should never paint with white".  I paint with white ALL the time. Every time I squeeze that white tube I have to giggle. TAKE THAT!
 I'm a lucky girl and have a buddy who sleeps by my feet when ever I paint.
 Painting the background like this was awful.  If I were to do it again, I would paint the background and then freehand the tree on top.
 While I waited for the color background to dry I painted the background for another tree!
 Never underestimate how pretty your palette can be!
 Once the colors were dry I went in with a fine edged brush to paint to tree
 Phew!
 To finish, I added globes of different colors!

 oh and then I went and finished the other tree:

M.

Monday, May 21, 2012

Homemade Boutonniere

In keeping with the wedding theme, I thought I'd share the boutonnieres I made for our wedding.  Because we did a DIY wedding, we wanted to do things as early as possible.  When it came to making boutonnieres for the guys, I knew I couldn't make them early if I used real flowers. Solution: use fake ones!
By crafting them out of "fake" stuff I was able to make the boutonnieres MONTHS early! For a total cost of about $10!

Step one:
From the craft store I picked out a small bouquet of flowers with complimentary colors. I then cut the flowers off so that I had a pile of individual flowers.
 I also found this tin that came with fake rose flowers and loose leaves.
 I also picked out some twine. Choose a color that compliments your flowers and color scheme.

 Pick out some small details.

Step two:
Once I had all the pieces. I placed two leaves like so,
 A little dab of hot glue held the two leaves together.
To add a little pizzaz, I found this awesome "baby's breath" bundle. Pick out some branches that have some bulk and cut them off the bundle.
Step three:
Once you have some nice pieces, place them over your leaves and use a dot of hot glue to make them stick.
 Step four:
To make sure the flowers were close enough, I bent the stems so they were touching and then used hot glue to hold.  Thank god for hot glue.
 Step five: Once the flowers are ready, place them on the leaves so that you can still see the leaves and baby breath combo. Use hot glue to stick the flowers to the leaves. Wrap your twine around the flower stem so you can't see the plastic.  To finish, use a rose bud, or other choice flower to hide the plastic stems of your flowers. Hot glue time! Stick the rose to the bundle. I used a small pearl in the center to complete the look (and cover some glue).
 Voila!!  I made the groom's boutonniere have three flowers and a large rose. Not only did they look great, but from a distance they look real!
 Enjoy!!

Related Posts Plugin for WordPress, Blogger...