I was recently commissioned to do a portrait of an adorable pup named Fergus. I thought I would share the progress as Fergus' portrait comes to life!
This is the photo I received as reference:
First, I made a pot of coffee. After staring a the photos and making a plan of attack, I started by creating a line sketch on tracing paper. I liked the ears from another reference photo so I sketched those.
I like using graphite transfer paper to get my sketch onto my canvas. By using graphite paper you only have to sketch once, and you don't have to worry about erasing on the canvas. I like Sally's Graphite paper
Once the sketch is on the canvas, I start by using my dark colors. You can always lighten oil paints because they are transparent.
Continue to build the dark areas and blend lighter colors as you go.
Once a base was down, I went back with heavier dark colors to build shadows and contours
Blend. Blend. Blend.
Once we get to this point it's time to stop until it dries. By letting this paint dry, we can layer paint on top, without having it blend. Oil paints take about 4-6 days to dry, depending on the moisture in the air. Oils take even longer if you use a thinning medium such as Turpentine (1-2 weeks!).
Once he's dry we can go back to adding darks to the nose/mouth
Adding darks around the nose/mouth
Reference check! Notice how light his face is in the picture? We will get there, but we start dark and work towards the light. Before we finish, a fluffy brush can help soften all the colors. I can't do more to the face until it dries (4-6 days) so on the the body!
Don't forget the bandanna!
Starting to bring in the whites in the face
After 2 weeks of drying, I went back to start lightening his face and body. Don't be afraid to be aggressive with the paint, you will need to blend it anyways! My client sent me several photos and wanted to "blend" the looks. When all is done, the painting will not be as light as the photo.
Adding the darks around the eyes was a challenge. I used a fine brush to add lines of color and then blended it with a feathery brush.
Next step was to work on the nose.
Use white to add the "wet nose" look
Almost done! just have to finish the background, lighten his face a little more, and add details (whiskers, hair detail, finish bandanna).
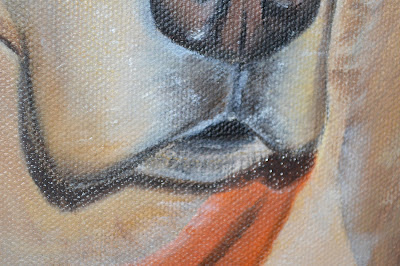
Some close-ups:


No comments:
Post a Comment